


Table of contents
- Implementation
- Creating an EC2 INSTANCE and Choosing CentOS 7 AMI
- Choosing an instance type
- Configuring an SSH key
- Configuring a security group and launching your instance
- Configuring storage on instance
- Launch
- SSH into your EC2 instance to know login information
- Configuration for CentOS to install cPanel & WHM
- WHM & cPanel setup
cPanel & WHM is a web hosting control panel software that allows website owners, system administrators, and resellers to manage their websites and servers through a user-friendly interface. cPanel provides an easy-to-use graphical interface for managing various aspects of web hosting, such as creating email accounts, managing domains, uploading files, creating databases, installing applications, and monitoring server performance.
WHM (Web Host Manager) is a separate administrative interface that comes with cPanel. It allows system administrators and web hosting resellers to manage multiple cPanel accounts on a single server or across multiple servers. With WHM, you can create and manage hosting packages, set up new cPanel accounts, monitor server health and resource usage, and automate server backups and updates.
Together, cPanel & WHM provide a complete web hosting solution for both individual website owners and web hosting providers. They are widely used in the industry due to their ease of use, reliability, and comprehensive feature set.
Implementation
Creating an EC2 INSTANCE and Choosing CentOS 7 AMI
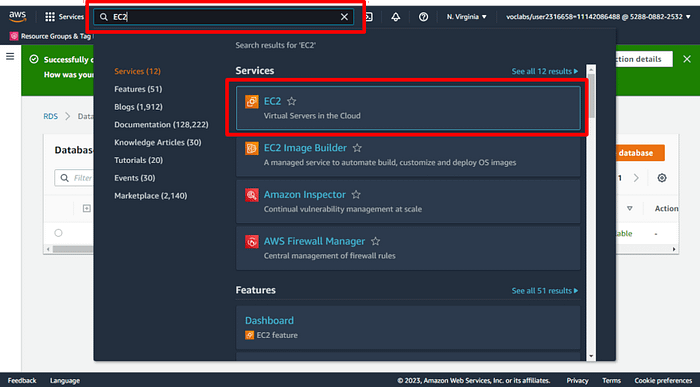
a. Open the AWS Management Console. When the screen loads, enter EC2 in the search bar, then select EC2 to open the service console.
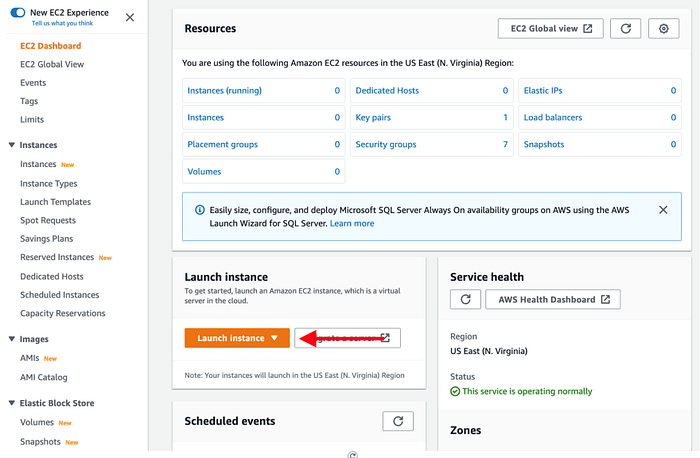
b. Choose the Launch instance button to open the instance creation wizard.
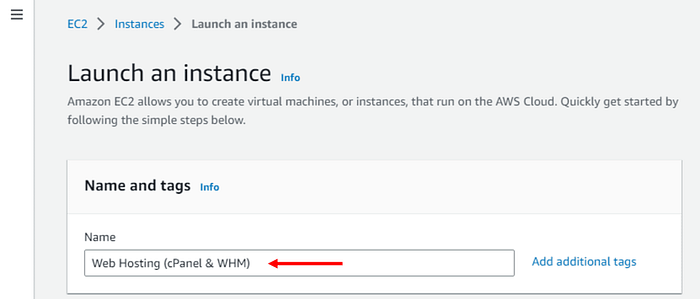
c. On the first page, enter Web Hosting (cPanel & WHM) as your instance name.
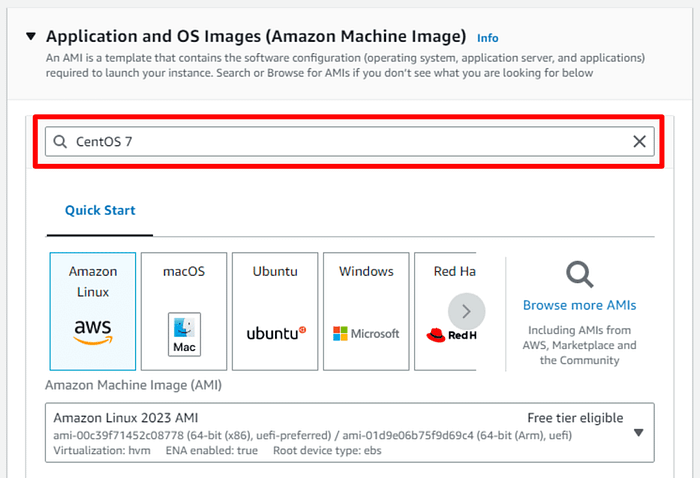
d. Next, choose an Amazon Machine Image (AMI). The AMI you choose will determine the base software that is installed on your new EC2 instance. This includes the operating system (Amazon Linux, Red Hat Enterprise Linux, Ubuntu, Microsoft Server, etc.), and the applications that are installed on the machine.
Many AMIs are general-purpose AMIs for running many different applications, but some are purpose-built for specific use cases, such as the Deep Learning AMI or various AWS Marketplace AMIs.
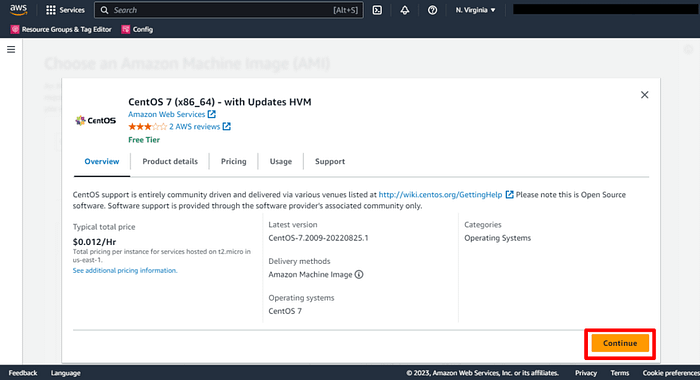
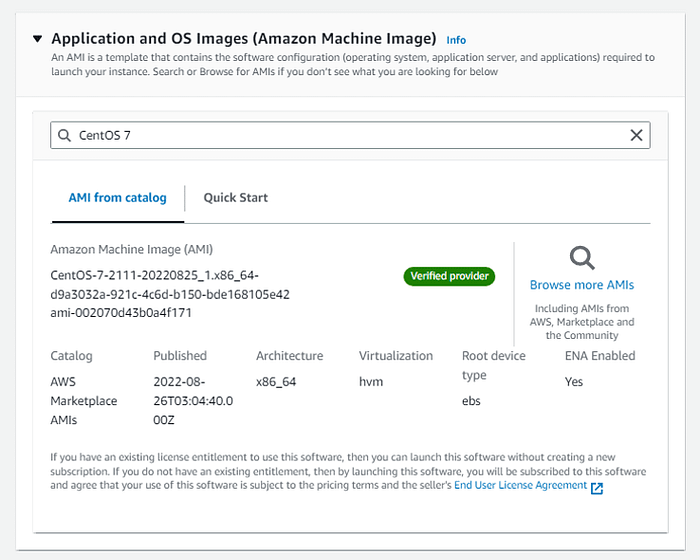
CentOS 7 image is the Official CentOS 7 x86_64 HVM image that has been built with a minimal profile, suitable for use in HVM instance types only, so choose CentOS 7 (x86_64) — with Updates HVM after make search on AWS Marketplace AMIs in the AMI selection view.
so write CentOS 7 on search bar then click Enter
e. You will find the first image, choose it and press on Select

f. Read overview and all details about AMI then click Continue
g. You will return to the AMI Section and you will find that the image has been selected.
Choosing an instance type
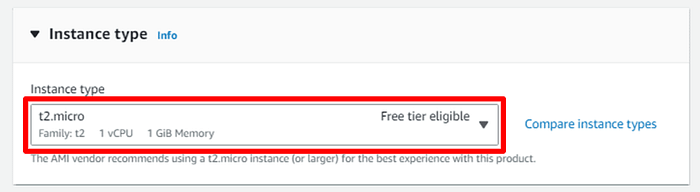
Scroll down to select an EC2 instance type. An instance type is a particular configuration of CPU, memory (RAM), storage, and network capacity.
AWS has a huge selection of instance types that cover many different workloads. Some are geared toward memory-intensive workloads, such as databases and caches, while others are aimed at compute-heavy workloads, such as image processing or video encoding.
Amazon EC2 allows you to run 750 hours per month of a t2.micro instance under the AWS Free Tier.
a. Select the t2.micro instance.
Configuring an SSH key
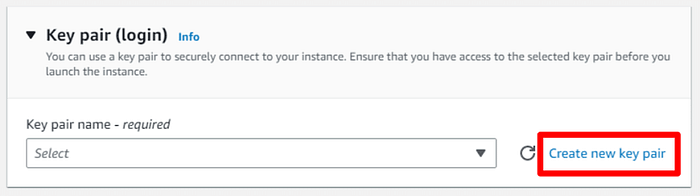
You will see a details page on how to configure a key pair for your instance. You will use the key pair to SSH into your instance, which will give you the ability to run commands on your server.
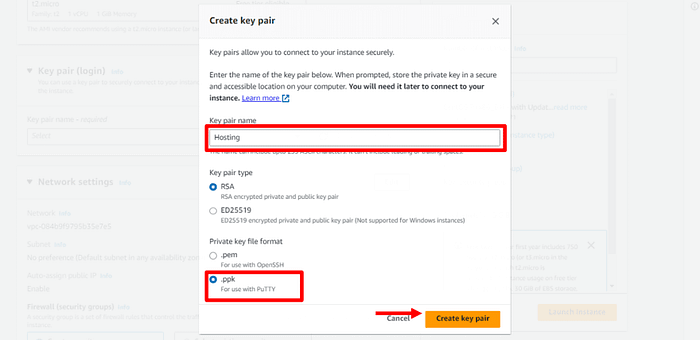
a. Open the key pair (login) section and choose Create new key pair for your instance.
b. Give your key pair a name. Then choose .ppk in Private Key file format to can use with PuTTYThen. Then choose the Create key pair button, which will download the .ppk file to your machine. You will use this file later.
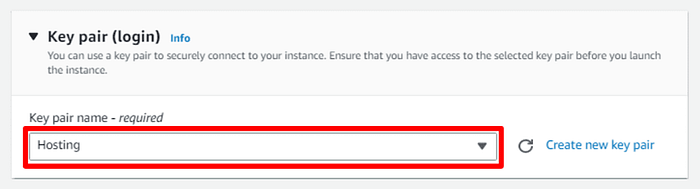
c. You will return to Key pair (login) Section and you will find that Key has been selected.
Configuring a security group and launching your instance
You need to configure a security group before launching your instance. Security groups are networking rules that describe the kind of network traffic that is allowed to your EC2 instance. You want to allow traffic to your instance:
SSH traffic from all IP addresses so you can use the SSH protocol to log in to your EC2 instance and configure WordPress.
HTTPS traffic from all IP addresses so that users can view your WordPress site Secured.
HTTP traffic from all IP addresses so that users can view your WordPress site.
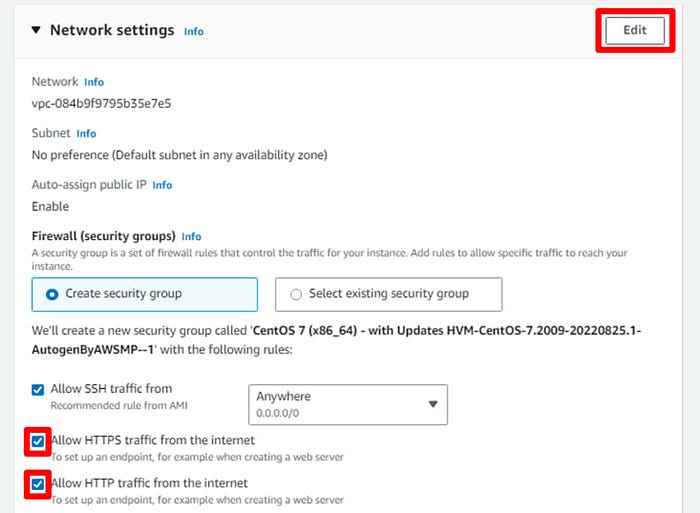
a. To configure this, select Allow SSH traffic from Anywhere and select Allow HTTPS & HTTP traffic from the internet.
then Click on Edit
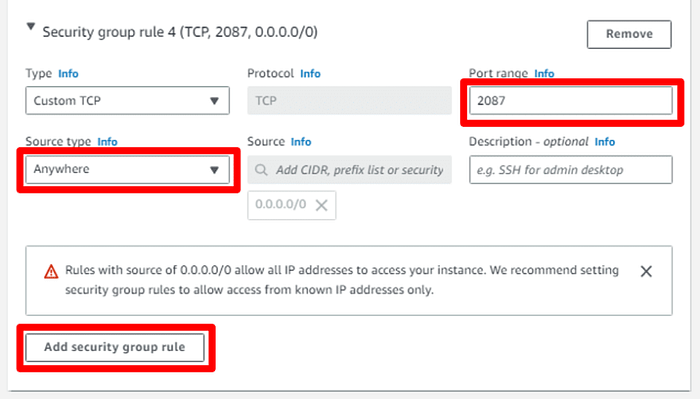
b. Click on Add Security group rule to add group rule.
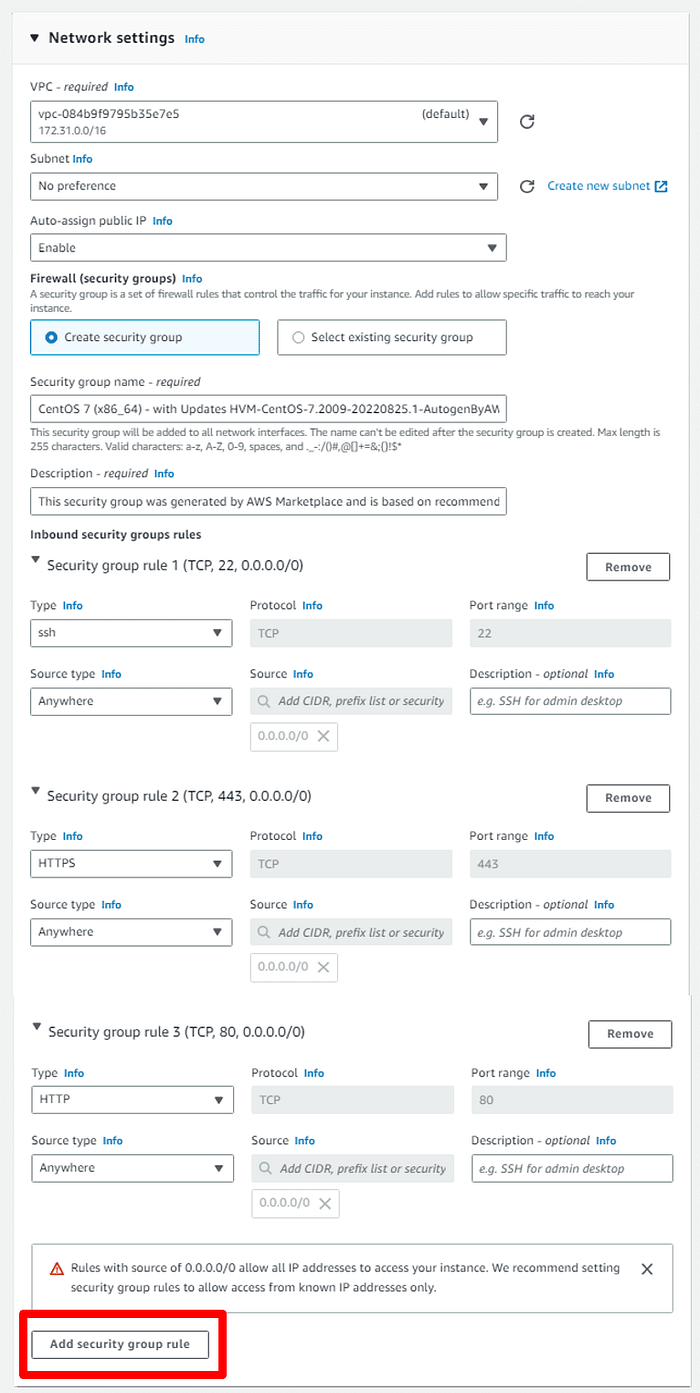
c. First Security Group: In Port Range write 2087 and in Source type select Anywhere this for open WHM Dashboard Port.
Then Click on Add Security group rule to add another group rule.
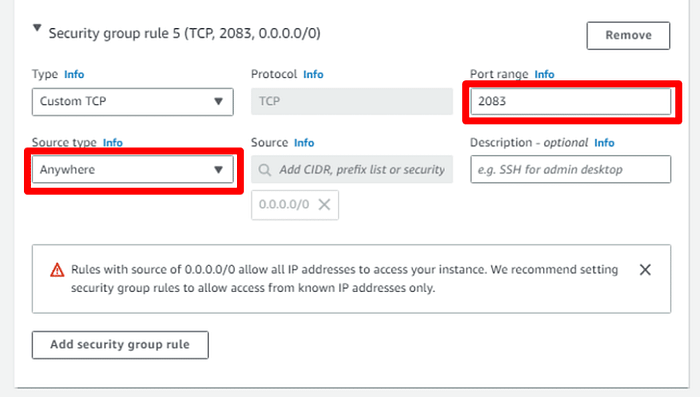
d. Second Security Group: In Port Range write 2083 and in Source type select Anywhere this for open cPanel Dashboard Port.
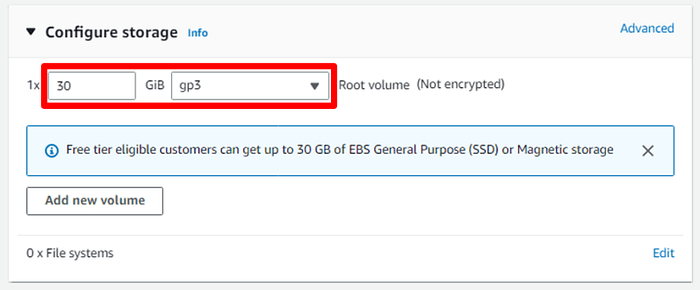
Configuring storage on instance
a. Here we can increase the storage space for the Root volume and also can be added more volume storage.
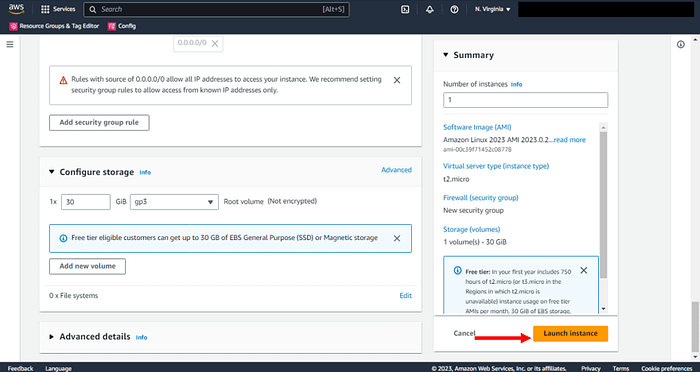
Launch
It is now time to launch your EC2 instance.
a. Choose the Launch instance button to create your EC2 instance.
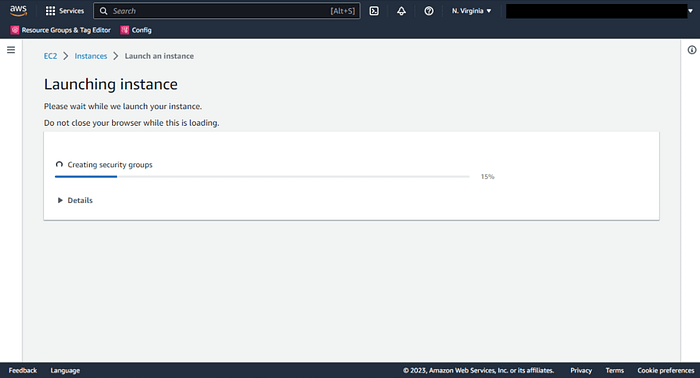
b. Wait for instance to launch.
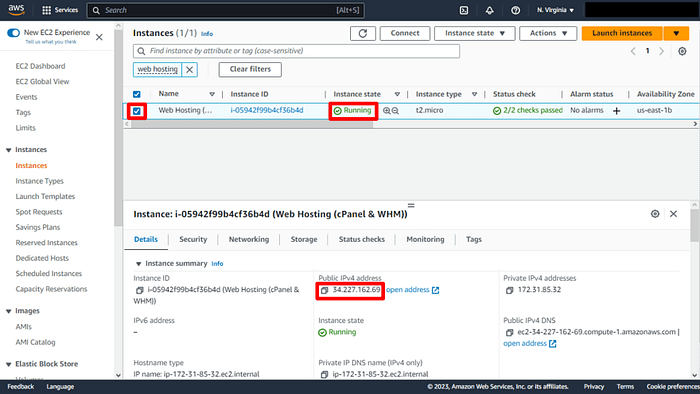
c. You have successfully launched your EC2 instance and You can get Public IP.
SSH into your EC2 instance to know login information
You will use SSH to connect to your EC2 instance and run some commands.
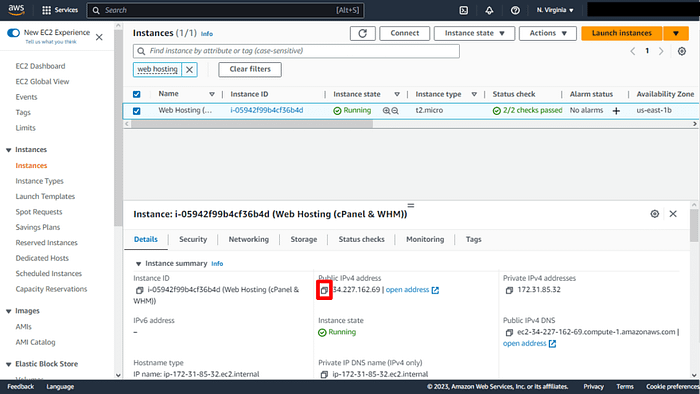
a. Go to the EC2 instances page in the console. You should see the EC2 instance you created for the WordPress installation. Select it and you will see the Public IPv4 address and the Public IPv4 DNS in the instance description.
Click on Copy icon to copy public ip

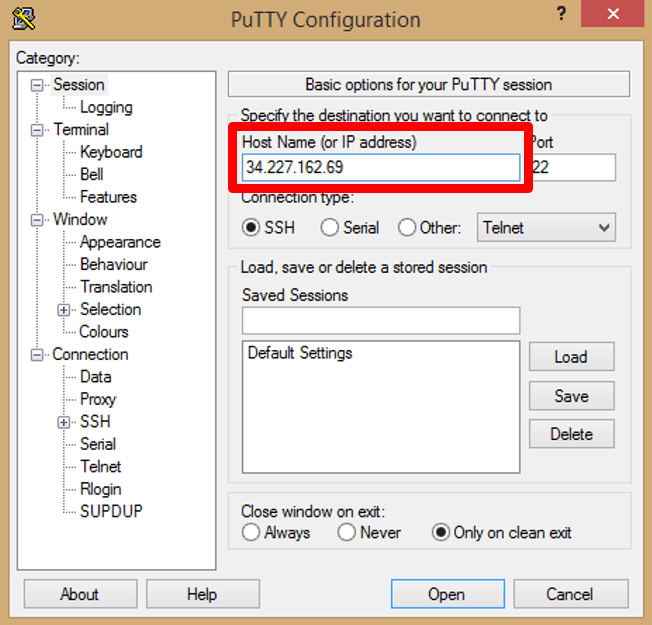
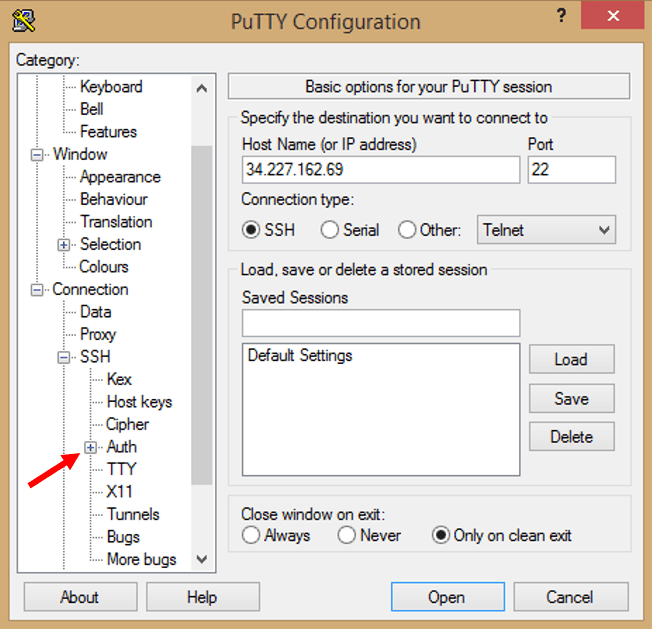
b. Open PuTTY appliction and paste public ip in Host Name (or IP address).
c. Click on + the one next to SSH in Category list.
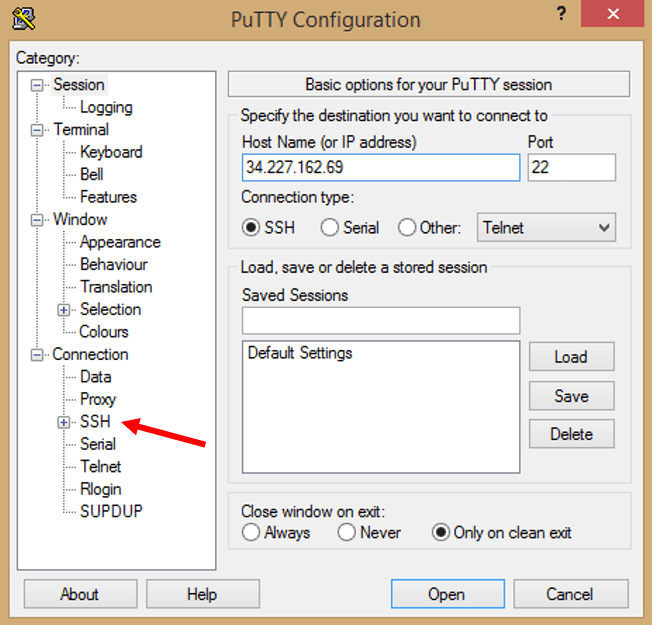
d. Then click on Auth.
e. In Private Key file for authentication, Click on Browse
Previously, you downloaded the .ppk file for the key pair of your instance. Locate that file now. It will likely be in a Downloads folder on your desktop.
open this .ppk file
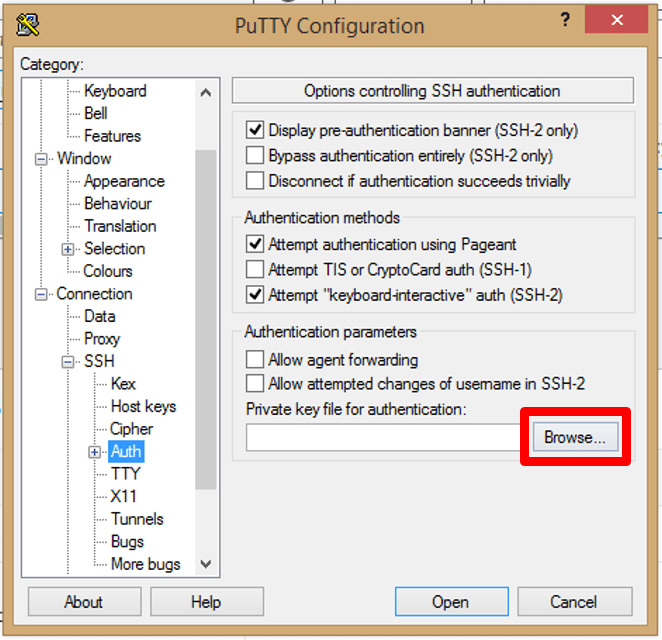
f. Click on Open.

Configuration for CentOS to install cPanel & WHM
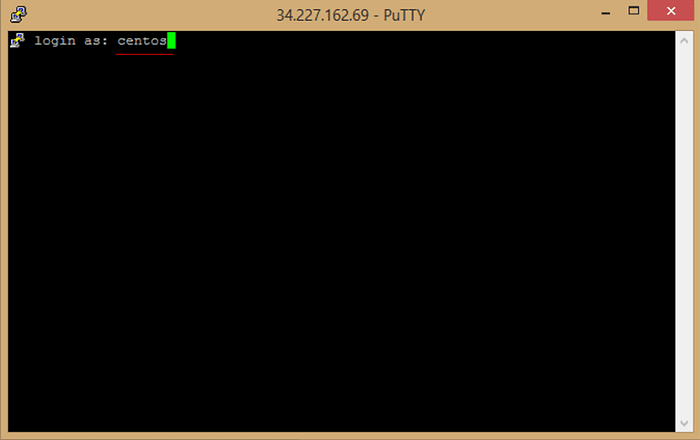
a. You should see the following in your terminal to indicate that you connected successfully.
then you will log in with centos (centos is deafult).
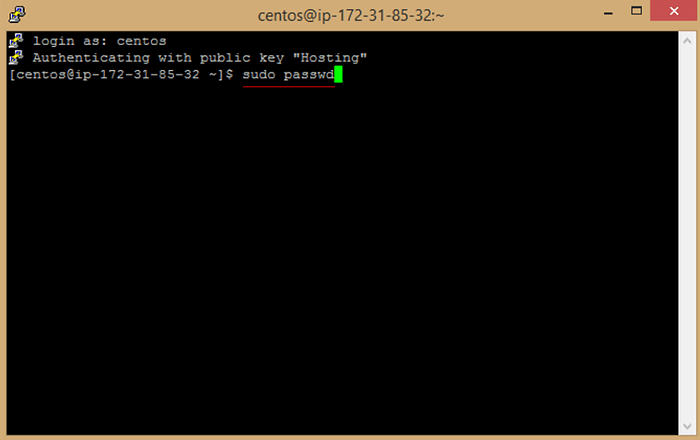
b. Enter this command to change password
sudo passwd
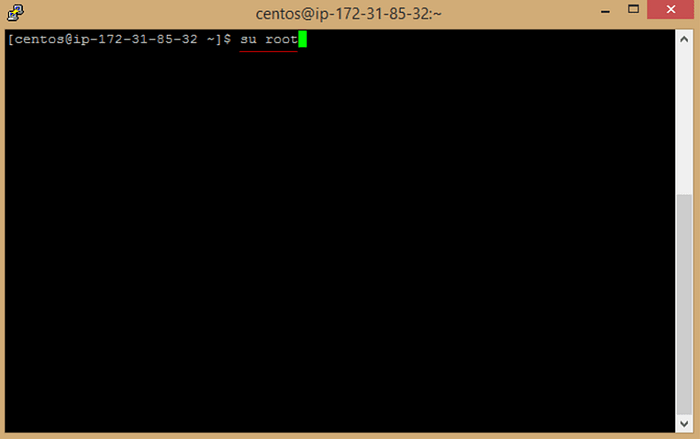
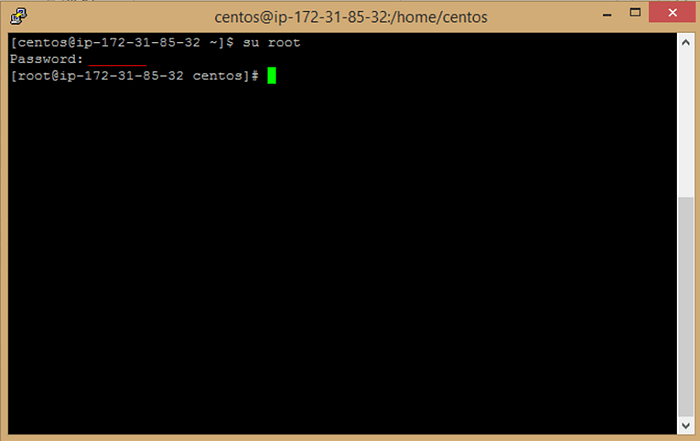
c. Enter this command to be root user
su root
d. Enter Password to be root user (Password you added a while ago in a sudo passwd step).
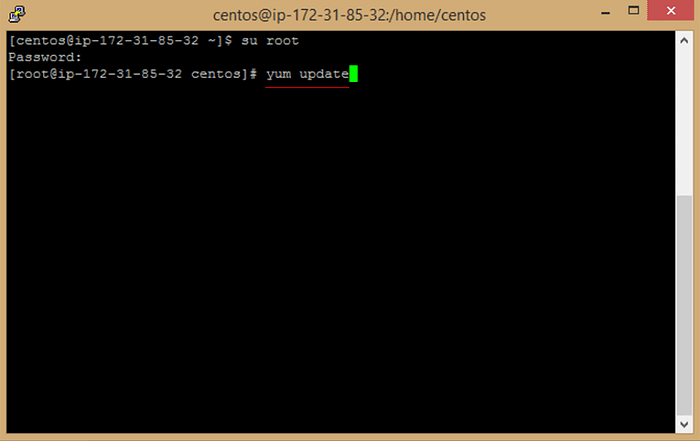
e. Enter this command to update image
yum update
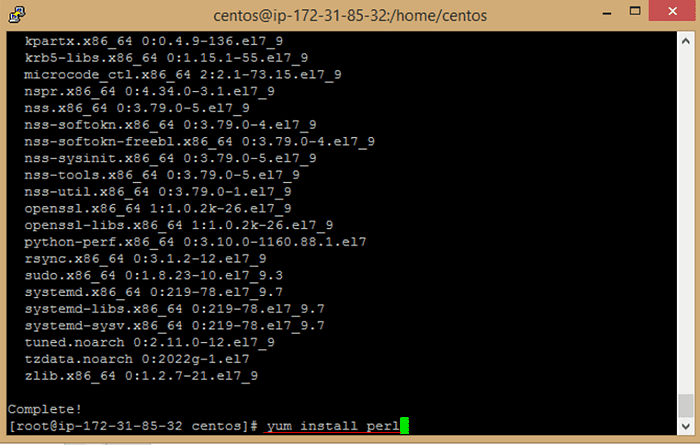
f. Enter y to accept download Package.

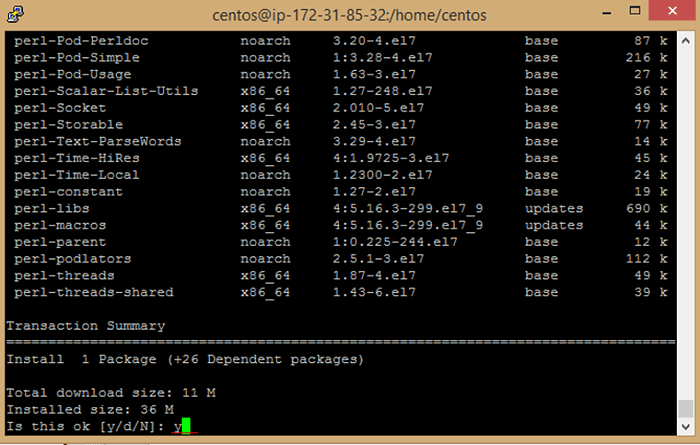
g. Enter this command to install perl package
yum install perl
h. Enter y to accept download Package.
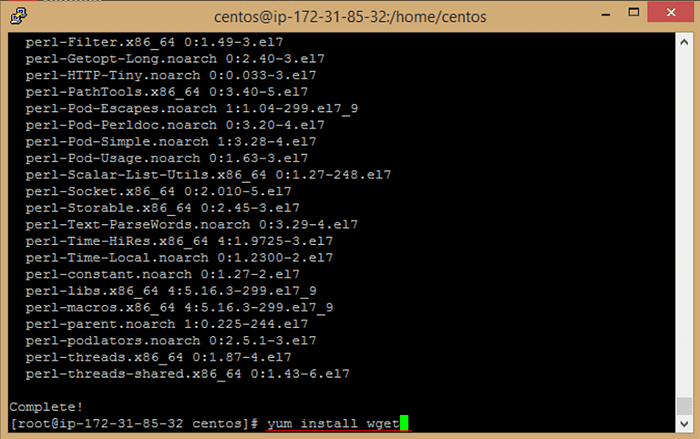
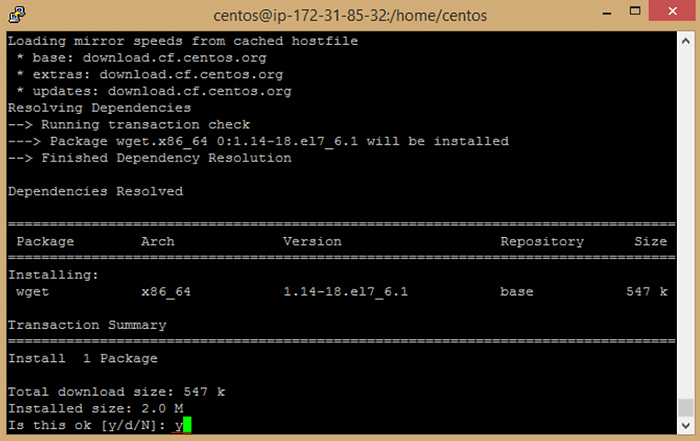
i. Enter this command to install wget package
yum install wget
j. Enter y to accept download Package.
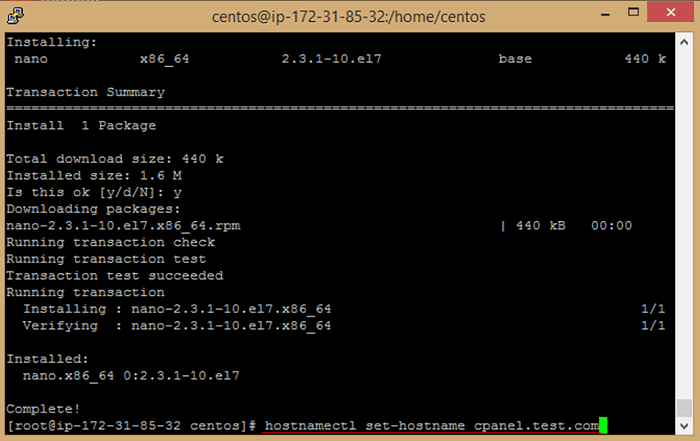
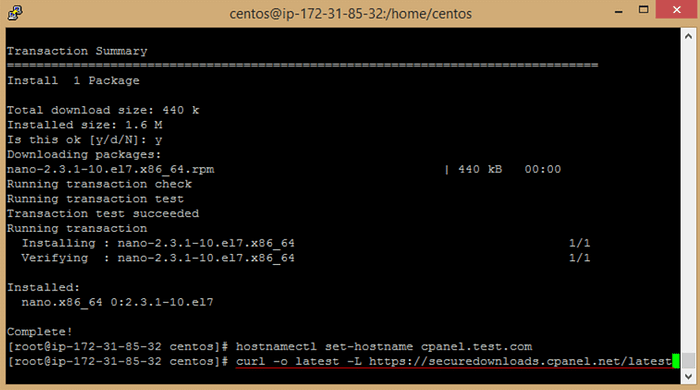
k. Enter this command to install nano package
yum install nano

l. Enter y to accept download Package.

m. set the hostname with your domain name. Replace yourdomainname.com with your domain name.
hostnamectl set-hostname cpanel.yourdomainname.com
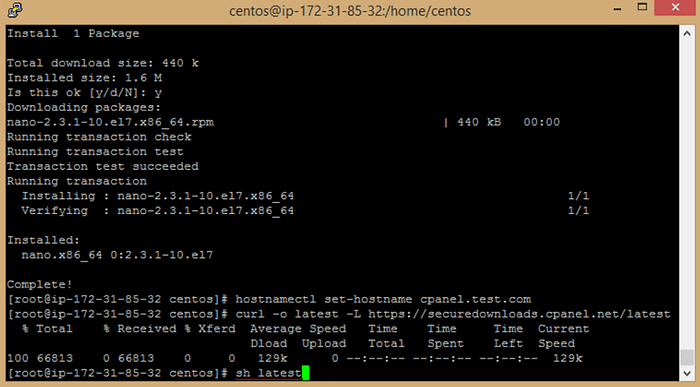
n. Download the latest installation script from cPanel’s website by running the following command
curl -o latest -L https://securedownloads.cpanel.net/latest
o. Once you have downloaded the installation script, run the following command to start the installation process
sh latest
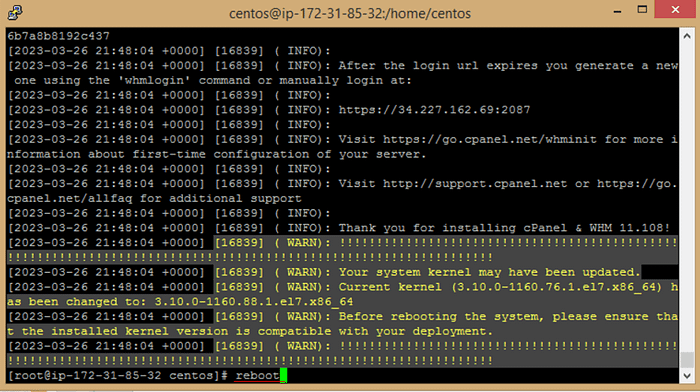
p. The installation process will now begin. Follow the on-screen instructions to complete the installation.
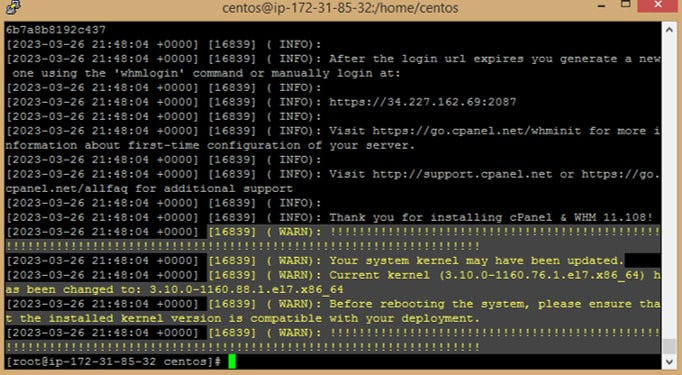
q. Make reboot for server, run the following command
reboot
WHM & cPanel setup
a. back to EC2 Instance Dashboard and select EC2 then Copy Public Ip.
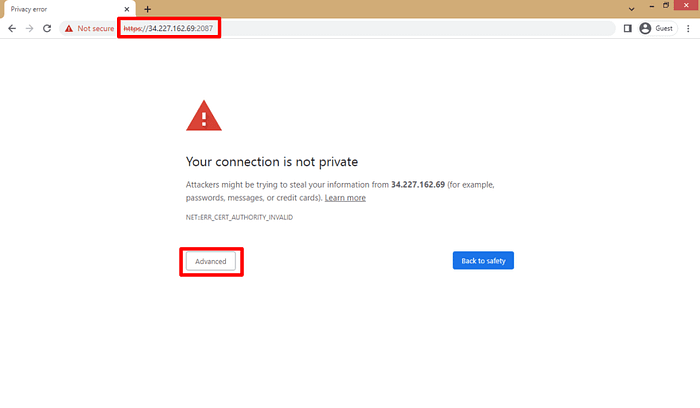
b. Once the installation is complete, you can access the WHM interface by visiting https://your-server-public-ip:2087 in your web browser then click on Advanced
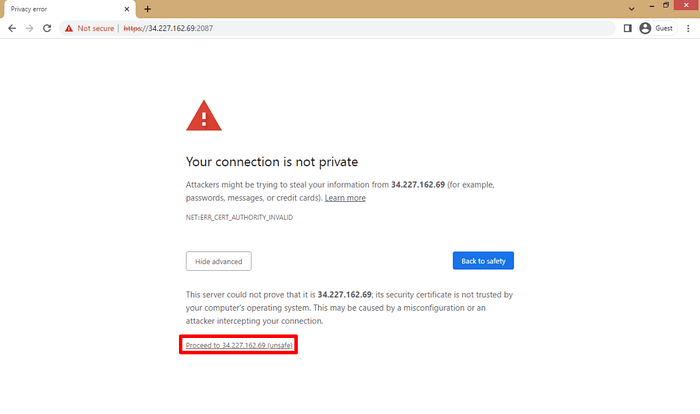
c. Click on Proceed to … (unsafe)
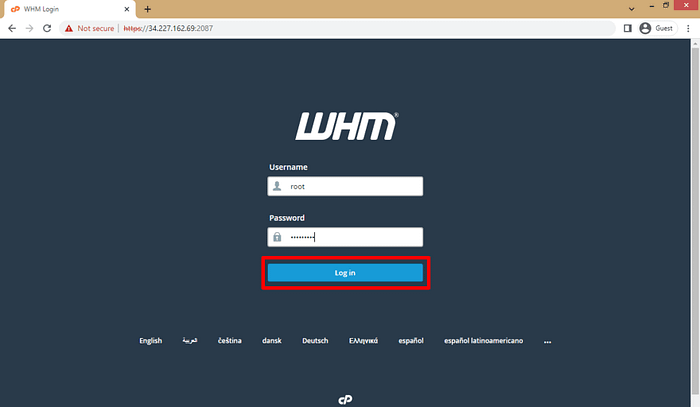
d. WHM Login Page Open.
On the WHM login page, enter the “root” username and the password you set during the instance launch process then click on Login.
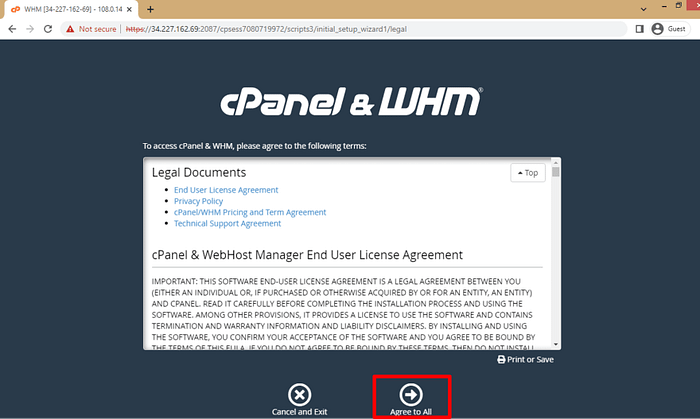
e. Click on Agree to All.
f. Click on Log in to log in to cpanel store.

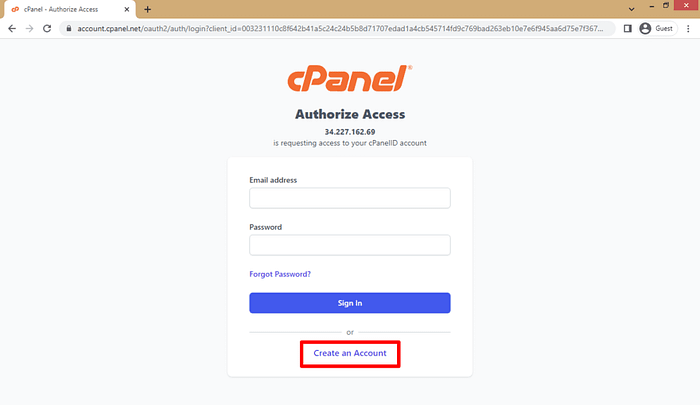
g. Click on Create an Account.
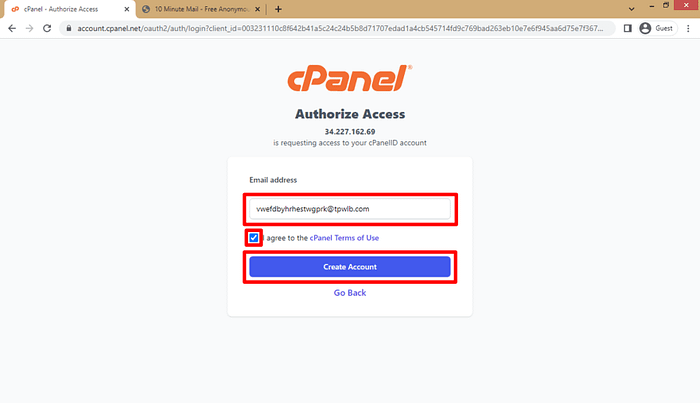
h. Enter email address then click on the approval box (I agree …) then click on Create Account.
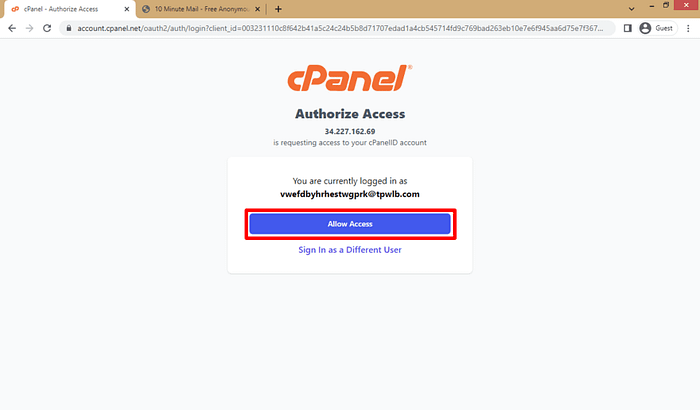
i. Click on Allow Access.
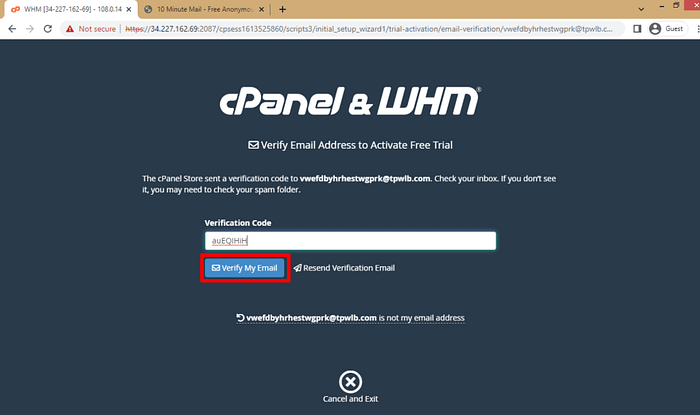
j. After recieve verification code on email copy it and enter it in WHM then click on Verify My Email.
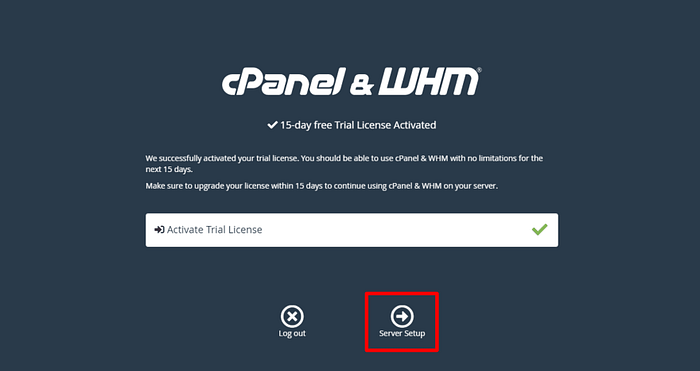
k. Click on Server Setup.
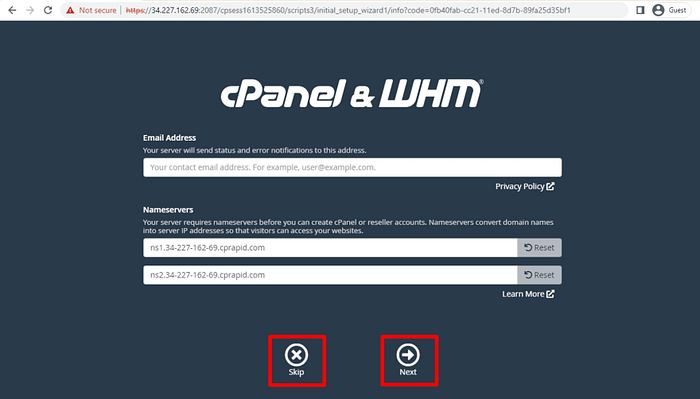
l. Here you can add Nameservers and setup domain or click on Skip and edit in it later.
m. Now you will be taken to the WHM home page.

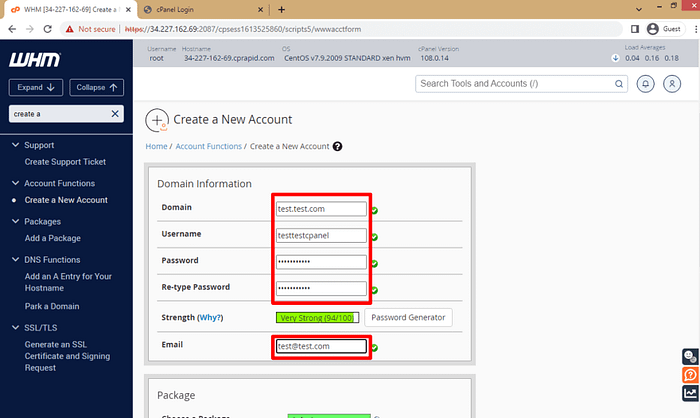
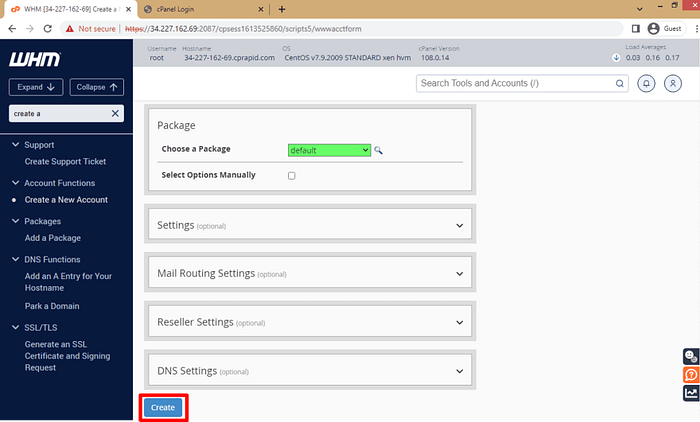
n. In Search Tools write Create and click on Enter to make Search then click on Create a New Account to use it to open Cpanel Login.

o. Enter all data about account you need to create then click on Create and this data will use to Log in Cpanel dashboard.
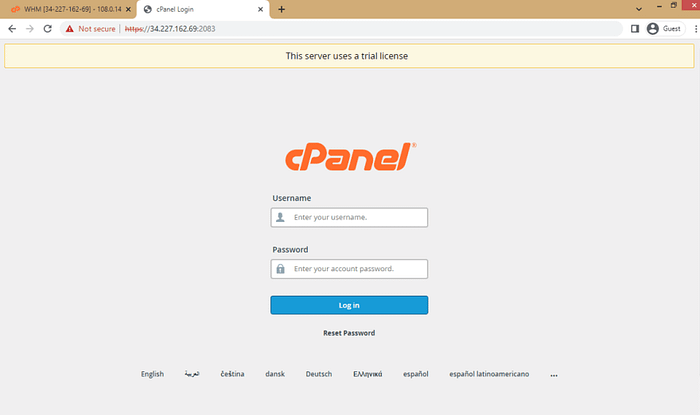
p. Now you can access the cPanel interface by visiting https://your-server-public-ip:2083 and enter username and password to login.
That’s it! You now have cPanel & WHM installed on your AWS EC2 instance. From here, you can manage your server, create hosting accounts, and more.